Quick start
If you are new to Maze Creator, this is the fastest path from a blank screen to a finished room-based maze.
- Open My Mazes and click Create New Maze.
- Pick a Layout (rectangular, circular, or triangle), optionally a Shape silhouette, and click Create maze — or open a ready-made template if you want open chambers right away.
- In the editor, use Maze for size and page setup, Shape for silhouettes and room order, and Style for colours and the solution path.
- Drag-select cells on the canvas and use the floating Maze, Empty, and Room actions to shape the puzzle.
- Click Save Maze when finished, then use Download for SVG, PNG, or PPTX.
Edit the canvas
Drag across the cells you want to change, release to keep them selected, then use the floating action bar. Room creates an open chamber, Maze restores normal maze space, and Empty cuts an area away completely.
If you pick the wrong cells, switch them back with Maze or cut them away with Empty.
Press Esc any time to clear the current selection and start again.
Maze shapes
Instead of a plain rectangle, you can cut the maze to fit a shape — either when creating the maze or later from the editor. Open the Shape tab and pick a built-in silhouette (animals, holiday icons, symbols, and basic outlines) straight from the gallery, or import your own image.
When you import an image, dark areas become the maze and light areas are cut away. Use Threshold to decide how dark a pixel must be to count, Coverage to control roughly how much of the grid should be filled, and Invert if your image is the opposite way round. Only the resulting shape is saved with the maze — the source image itself is not stored, so re-opening the maze later will not show the original picture.
- Shapes need the square grid mode. They are not available for the circular or triangular grid options.
- Changing rows or columns afterwards re-fits library shapes automatically, but an imported image shape keeps its original layout after you reload the maze — resize before importing the image if you can.
- If a shape leaves small disconnected pockets of cells, Maze Creator automatically trims them so every remaining cell can still be reached and the maze stays solvable.
Route controls
The start and finish markers are draggable. Move them when you want a different entry point, exit point, or solution path through the maze.
Inspector tabs
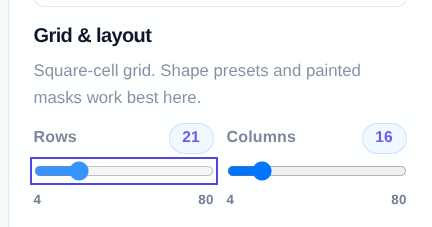
- Maze controls the title, difficulty, grid size, and page size.
- Style controls the theme, wall colour, room fill, and solution styling.
- Shape holds the silhouette picker, image import, and the room queue.
Downloading
Use Download in the editor toolbar to save the maze as SVG, PNG, or PPTX.
- SVG and PNG each have Maze only and + Solutionversions.
- PPTX exports both maze and solution slides together.
- Page size on the Maze tab controls PPTX slide orientation and format.
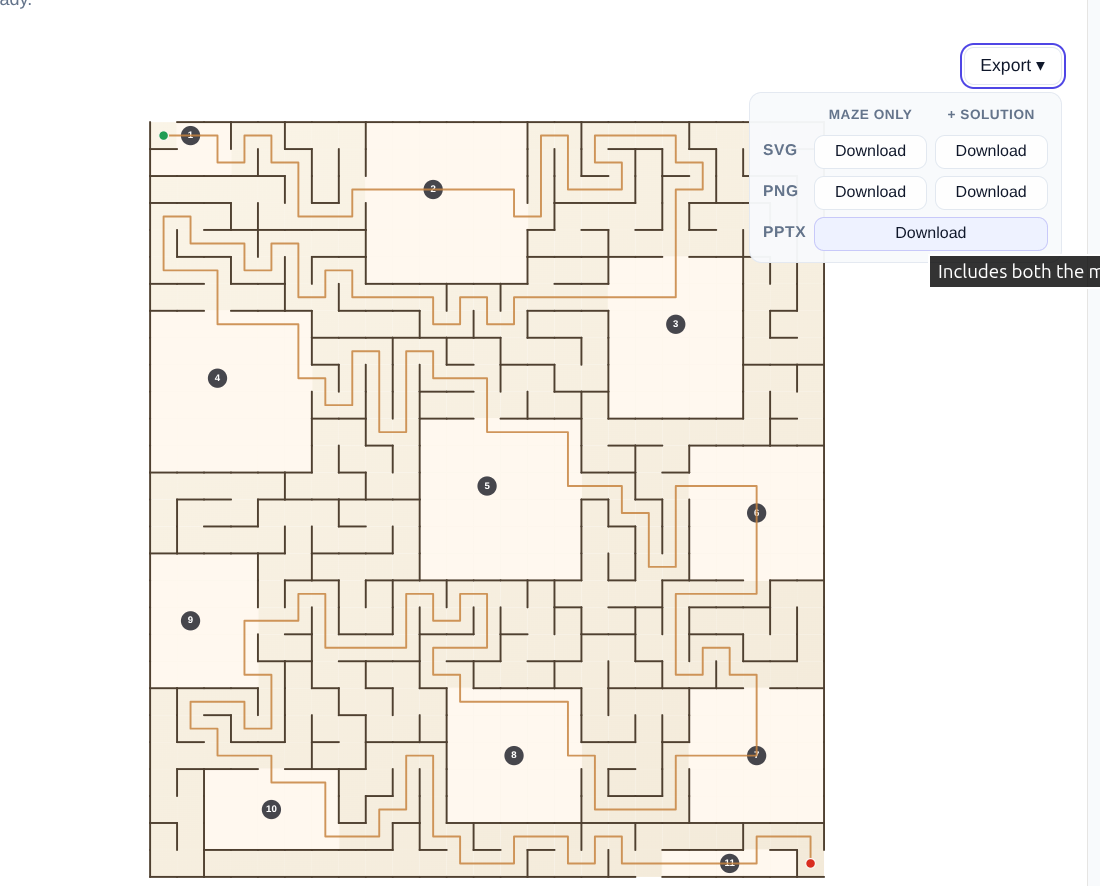
If you plan to decorate the maze further in another app, PPTX is usually the easiest export option.
Saving and licensing
Mazes are stored locally in your browser. They do not sync automatically across devices or browsers.
On My Mazes, use Back up library to download a JSON backup and Restore backup to restore from a JSON file.
Saving and exporting require an active license in the current browser. You can manage this on the License page.
Worksheet walkthrough
If you want a full example of turning a room-based maze into a printable pirate worksheet, the Bearwood Labs article walks through the process step by step.
Read the full tutorial: How to Create a Room-to-Room Maze Worksheet
More help
You can contact bjorn at bearwoodlabs dot com for help.